
If you’ve installed a beautiful cedar fence, you want it to look good and last as long as possible. Unlike other fence materials, wood is organic and therefore requires more upkeep and regular maintenance. Fortunately, there are a few things you can do to prevent issues and maintain your cedar fence.
In this guide, we’ll give you tips for maintaining your cedar fence, including how to clean and stain it, along with a clear breakdown of when to replace and repair your cedar fence.
Cedar Fence Maintenance Tips:
- Cedar lasts 20 to 30 years with the right care. Without proper maintenance, you’re looking at a fraction of that.
- Clean your cedar fence once a year, and stain it every 2 to 3 years.
- Only use penetrating stains. Film-forming products are a shortcut that costs you in the long run.
- Catch problems early to save money. A $500 repair ignored long enough becomes a full replacement.
- When in doubt, get a professional set of eyes on it.
Why General Cedar Fence Maintenance Is So Important
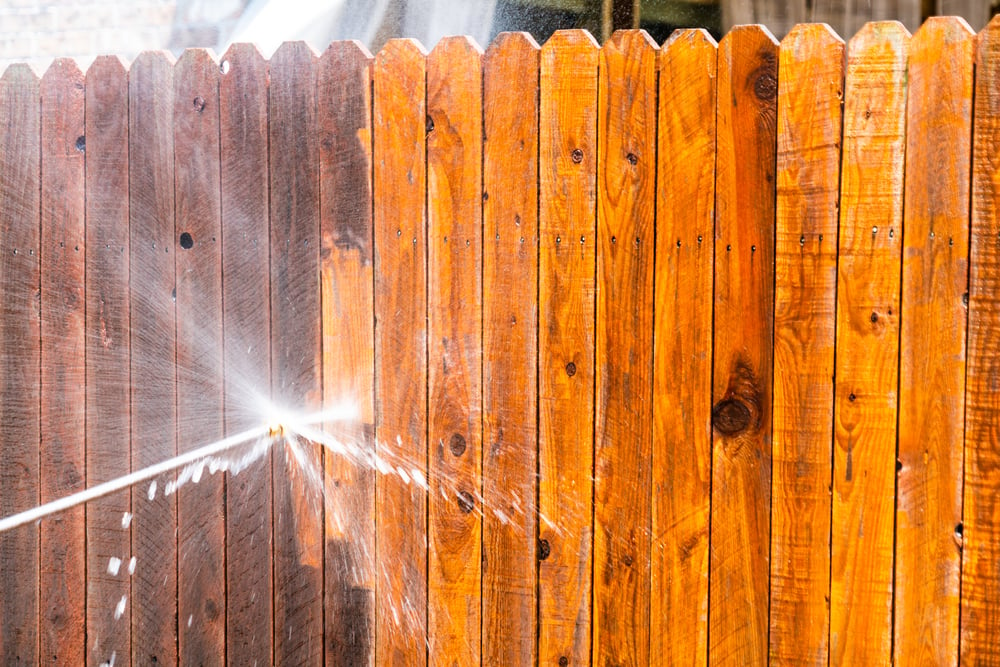
Cedar fences will last longer than other types of wood, like spruce or pine. The natural oils in cedar are its first line of defense against decay and insets, but they won’t hold up forever against the Pacific Northwest’s relentless rain, humidity, and shade.
Annual maintenance and cleaning, along with staining every two to three years is the best way to get the most out of your cedar fence and extend its lifespan. Doing this right can extend your cedar fence’s life to 20 to 30+ years.
Cleaning Your Cedar Fence
Fences should be cleaned annually, both for aesthetics and to keep off anything that may cause mold. However, if you ever spot fungi or algae on your fence, clean it off immediately. Cleaning is best performed in the spring.
Here’s how to clean your cedar fence:
- Protect yourself and nearby plants. While cleaning your fence, wear protective eyewear and gloves. Protect nearby plants by tying and covering them, and remove any nearby items that could be damaged by washing.
- Prepare your cleaning solution. Prepare a mixture of one part oxygen bleach (e.g., outdoor cleaner like Simple Green or specialized wood cleaners) with 3 parts warm water, or use a 50/50 white vinegar-water solution for mold/moss. Avoid harsh chemicals that can strip natural oils.
- Scrub down your fence with the grain. Use a soft-bristle brush or broom for this. Cedar is a soft wood and high-pressure washing can damage the fibers, so if you’re using a pressure washer, keep it under 600 to 1,000 PSI max and use a fan nozzle. For any tough spots, use a soft-scrub brush.
- Rinse thoroughly and let dry. If you’re going to be staining your fence after cleaning, make sure to let it fully dry before doing so.
- Condition the wood with boiled linseed oil (optional). After your fence has been cleaned and allowed to dry completely, some homeowners choose to apply a light coat of boiled linseed oil to help replenish the wood’s natural oils and improve water resistance. Apply it sparingly with a brush or cloth, wipe away any excess, and allow it to cure fully before applying a stain or sealer. Keep in mind that linseed oil provides limited UV protection, so it should not be used as a substitute for a quality penetrating exterior wood stain.
Cedar Fence Stain and Sealing Tips
If you’re staining a new cedar fence, be sure to wait at least 4 to 6 weeks after installation before applying any stain or sealer to let the wood cure properly. The best time to apply stain or sealer is in spring or early fall on a dry, mild day (50–80°F, low humidity, no rain forecast for at least 24 to 48+ hours). Avoid direct midday sun, which can cause the stain to dry too fast and lead to uneven results.
Products we recommend for cedar:
- Ready Seal Exterior Wood Stain & Sealer (e.g., Natural Cedar tone): An easy-to-apply, foolproof stain and sealer that is streak free, long lasting, and has great penetration.
- Cabot Australian Timber Oil or similar Cabot penetrating oils: Excellent UV protection and deep penetration for cedar.
- DEFY Extreme Wood Stain or TWP (Total Wood Preservative): Strong for wet climates with good mildew resistance.
Semi-transparent and translucent tones are usually the right call since they protect the wood while letting cedar’s natural grain show through. Always test a small area first.
Before staining, be sure to inspect your fence and repair any loose boards, replace damaged boards, and tighten hardware. Once that’s down, clean your fence completely to remove dirt, mildew, moss, and old finish. Scrub with the grain, rinse well, and let dry completely.
Staining your cedar fence:
- Prep your work area and materials. Wear protective eyewear and gloves. Cover nearby plants and the ground. Stir your stain thoroughly (do not shake it as this can create bubbles).
- Apply the stain. Start at the top and work your way down to avoid drips. Apply thin, even coats, focusing on penetration, not thickness. Saturate end grains, post tops, bottoms, and joints heavily, since they absorb the most stain. Use a sprayer for coverage, then back-brush/roll for even absorption.
- Saturate the end grains and post tops and bottoms. These areas absorb the most moisture, so give them extra attention.
- Let dry and apply additional coats. Many penetrating stains (like Ready Seal) do their best work with one generous coat, but a second coat after the first dries (usually 24 to 48 hours) boosts protection in high-exposure areas. Follow product instructions, and don’t over-apply as excess can get sticky.
Staining your cedar fence once every two to three years creates a breathable barrier that repels water while highlighting cedar’s grain. With this treatment your cedar fence will vastly outperform untreated fences and will last for years to come.
Knowing When to Repair and Replace a Cedar Fence
An important part of cedar fence maintenance is performing repairs when necessary. But at some point, repairing your fence won’t be worth it and you’ll be better off replacing it. Here’s how you can know which path is best.
| Repair or Maintain | Replace |
| Fading or light weatheringSurface mildew or early discolorationMinor surface cracksSingle cracked or warped boardsMinor rot at board ends | Multiple leaning or rotted postsSoft, spongy wood when probedWidespread warping or splinteringSagging rails or failing gatesMore than 20 to 25% of the fence showing damageFence is 15 to 30+ years old with recurring issues |
How to fix a cedar fence:
- If the damage is localized, you can replace single cracked or warped boards or pickets.
- If you find minor rot, you can replace pieces as necessary or use epoxy fillers.
- Tighten or replace any loose hardware.
As a good rule of thumb, consider how much it would cost to repair your fence. If repairs cost more than half of what replacement would, it’s usually smarter to start fresh. If you’re not sure what’s best for your fence, we can provide a professional inspection, which can reveal hidden issues like base rot.
Related: Should You Repair or Replace Your Cedar Deck?
FENCE CALCULATOR: Calculate How Much Your Custom Fence Will Cost
Warning Signs Worth Paying Attention To
These are the things homeowners often ignore until a small problem becomes an expensive one.
- Dark streaks or black and green discoloration: Graying is normal, but keep an eye out for signs of active mildew or mold which indicate moisture trapping.
- Soft or spongy wood: Use a screwdriver to poke your fence, if it sinks in easily, that’s an issue. Pay special attention to post bases, lower boards, and end grains.
- Warping, cupping, or cracking: Boards twisting or splitting reduce privacy and allow for greater water absorption.
- Leaning or loose posts/sections: Early instability is a sign of ground moisture or poor drainage.
- Moss/algae buildup: This is common in shaded/wet areas, and is an issue as moss and algae hold moisture and accelerate rot.
- Gaps, splintering, or rust on hardware: This indicates movement and potential water intrusion.
Ignoring any of these signs can let moisture and decay spread, turning a $500 to $1,000 maintenance job into a multi-thousand-dollar replacement. Inspect your cedar twice a year in the spring and fall, and act early if you spot any issues.
Advice for Pacific Northwest Homeowners
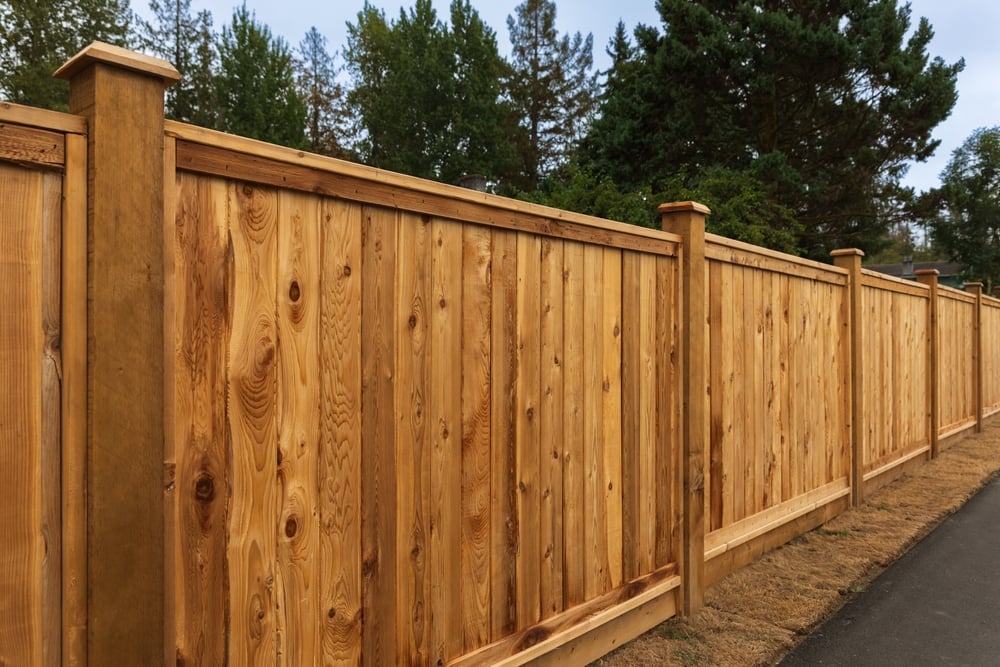
The Pacific Northwest’s wet, mild climate (frequent rain, high humidity, moss-prone shade) is tough on cedar but can be managed if you stay vigilant.
Here are a few things that matter here more than anywhere else:
- To avoid moisture, keep a 1 to 2 inch gap between the bottom boards and soil, redirect sprinklers and downspouts away from the fence line. Add gravel around posts, and trim away vegetation to prevent trapping dampness and moss.
- Stain every 2 to 3 years, and more often on south- and west-facing fences where the sun and rain hit hardest
- Check your fence after big winds and storms. Leaning posts need attention before they put stress on the whole structure. Reinforce as needed.
Related: How to Make Your Fence More Wind Resistant
Frequently Asked Questions
How often should you stain a cedar fence?
Plan on staining every 2 to 3 years, though your specific situation matters. Fences facing south or west are subject to more sun and rain, so they may need attention closer to the 2-year mark. Shaded fences in drier spots can often stretch a bit longer. The best way to know for sure is the water test: splash a little water on the wood. If it soaks straight in instead of beading up, it’s time to stain.
How do you fix a cedar fence?
It depends on what you’re dealing with. Loose boards and hardware are an easy fix. Cracked or warped pickets can usually be swapped out individually without touching the rest of the fence. Minor rot at board ends can sometimes be addressed with an epoxy wood filler if it’s caught early. For leaning or rotted posts, you’re typically looking at a more involved repair, since the post is what holds everything together. When in doubt, probe suspect areas with a screwdriver: solid wood pushes back, compromised wood sinks right in.
What should you do if your cedar fence is damaged?
Start by figuring out how widespread the damage is. Isolated issues like a cracked board or a loose post are usually straightforward repairs. If you’re seeing soft or spongy wood in multiple spots, widespread warping, or posts that lean when you push on them, it’s worth getting a professional eye on it before the damage spreads. The earlier you catch things, the more options you have. A fence that looks rough on the surface can often be saved with the right repairs, but hidden rot at the post bases can change the picture quickly.
Maintain Your Cedar Fence
A cedar fence done right is something you can enjoy for decades without thinking too much about it. “Done right” is the key here. That means staying ahead of the small stuff, like regular cleaning before grime becomes a moisture problem, restaining before the wood is completely dried up, and catching things like loose posts before they become bigger problems.
Cedar fence maintenance isn’t complicated, but it requires a little attention and a regular schedule.
If you’re not sure if your fence needs repairs or to be replaced, we can help. We’ll take an honest look, tell you what we see, and recommend the best course of action. Contact us today for a free repair or fence installation estimate.