
We ranked the parts of a sauna build by how much damage they do when they go wrong. Not the parts that are hardest, and not the parts that take longest. The parts where a shortcut turns into a real problem later.
The sauna build mistakes below are in his order, worst first, and we’ve filled in what each one actually looks like when a homeowner calls us about it.
1. Electrical
This one wasn’t close.
“Electrical’s real big. If you don’t do it right, you don’t hook up the right wires, it’s a lot of money down the drain.”
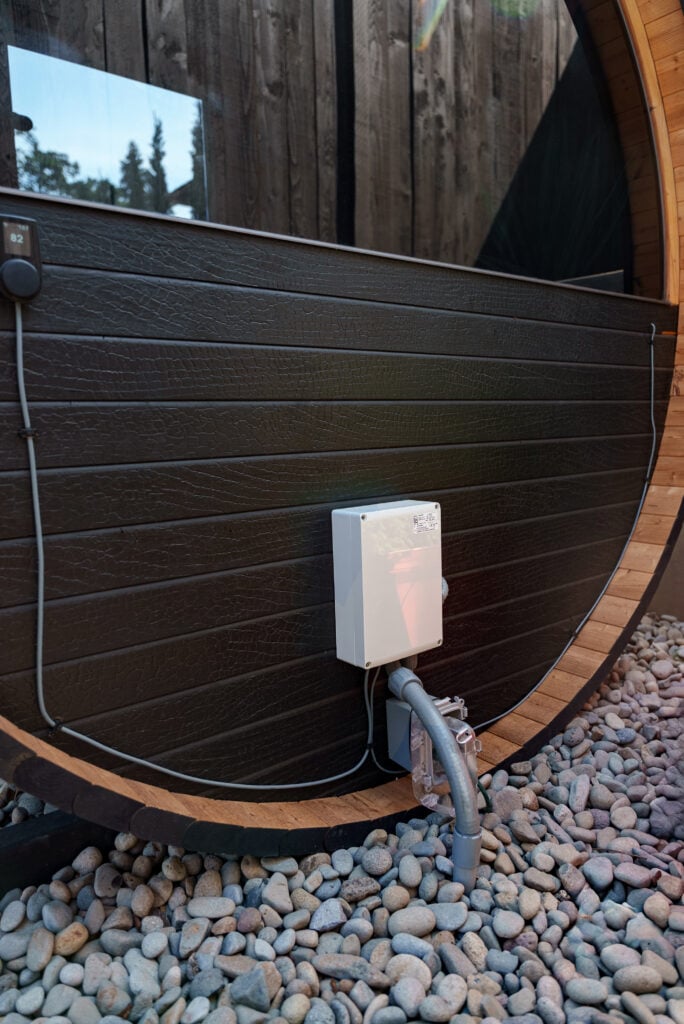
An electric sauna heater is not a normal appliance load. Most heaters in a backyard sauna need their own dedicated 240-volt circuit, hardwired, with the wire gauge and breaker size the manufacturer specifies. That spec is not a suggestion. Run wire that’s too small for the load and it heats up inside a wall you just finished paneling in cedar.
The money part is what makes this first. The cedar comes off, the insulation comes out, the vapor barrier gets cut, and you’re rebuilding an interior you already paid for. A homeowner who saved a few hundred dollars skipping a licensed electrician can spend several thousand undoing it.
An outdoor sauna adds another layer. The circuit has to get from your panel to the structure safely, which usually means a permit and an inspection. We plan that run before anything gets framed.
2. Heater Size
“If you got a too big of a heater, heat up too quick, pretty much burn it down. If you’re not careful, burn yourself. If you have too small a heater, it takes too long to heat up.”
There’s a real number behind this. The common rule of thumb is roughly one kilowatt of heater output per fifty cubic feet of sauna interior, adjusted up if the room has a glass door, an exterior wall, or any uninsulated surface.
Go over that and the room overshoots. The heater dumps more energy than the space can absorb, surfaces near it get hotter than they should, and anything with tight clearance to the unit starts taking abuse it wasn’t built for. You also get a room that’s unpleasant to sit in, because the air scorches before the benches and walls ever warm through.
Go under it and you get a sauna nobody uses. It takes an hour to get anywhere, it never quite hits temperature on a cold Portland evening, and the heater runs flat out the entire time. We’ve seen this a lot with units bought online and sized off a guess.
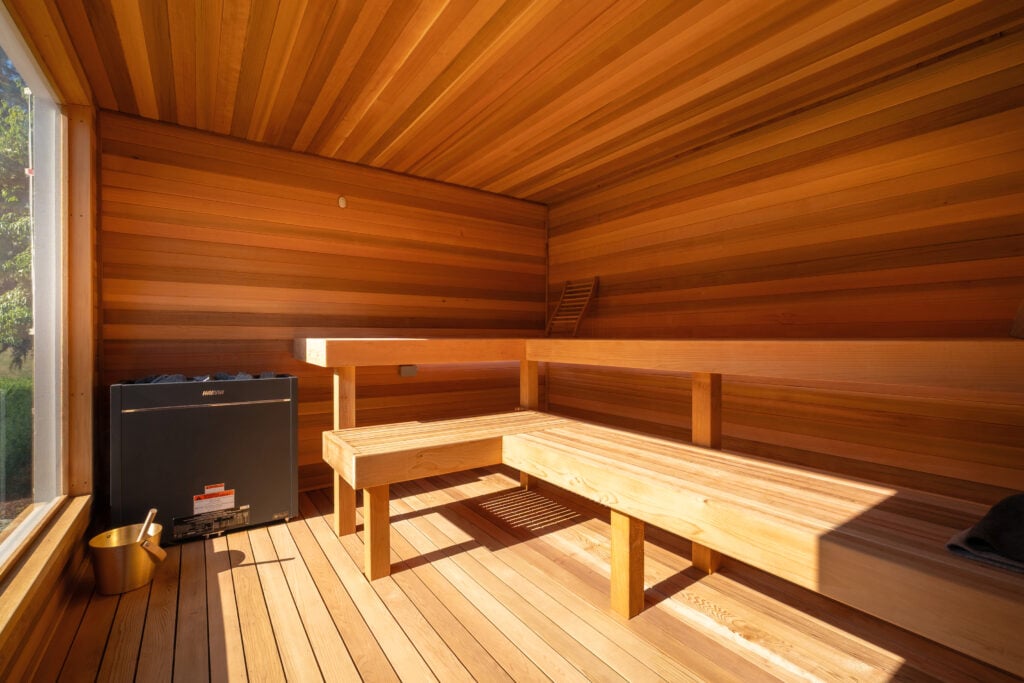
The right heater is the one matched to the actual volume of the room, with the manufacturer’s clearance to combustibles respected and a guard rail around the unit so nobody backs into it.
3. Venting
Venting is where saunas quietly go wrong, because a poorly vented sauna still gets hot. It just gets hot badly.
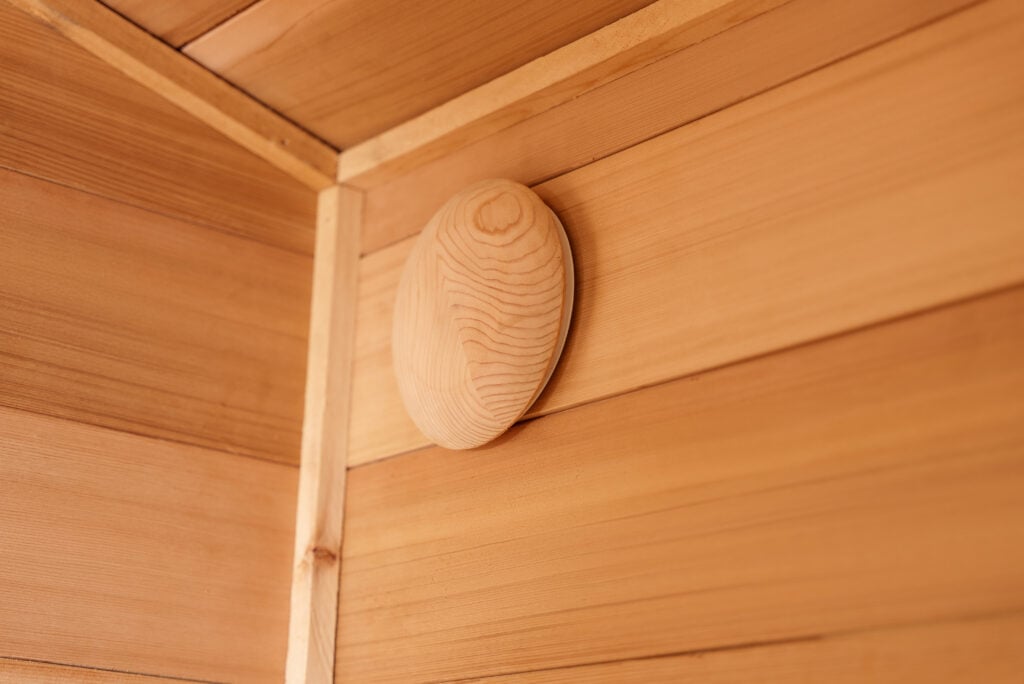
A sauna needs air moving through it. The standard approach is an intake low, near or under the heater, and an exhaust on the opposite side of the room, placed so air has to travel across the space to reach it. That gives you fresh air to breathe, heat that reaches your feet instead of stacking at the ceiling, and a room that dries out after you’re done using it.
Skip it and you get three problems at once. The air goes stale. The heat stratifies, so your head is at 190 and your ankles are at 120. And the moisture from every session stays in the room instead of leaving it, which is what starts the damage in the next two sections.
4. Insulation
Insulation is fourth on the list, but it’s the one with the longest delay between the mistake and the consequence.
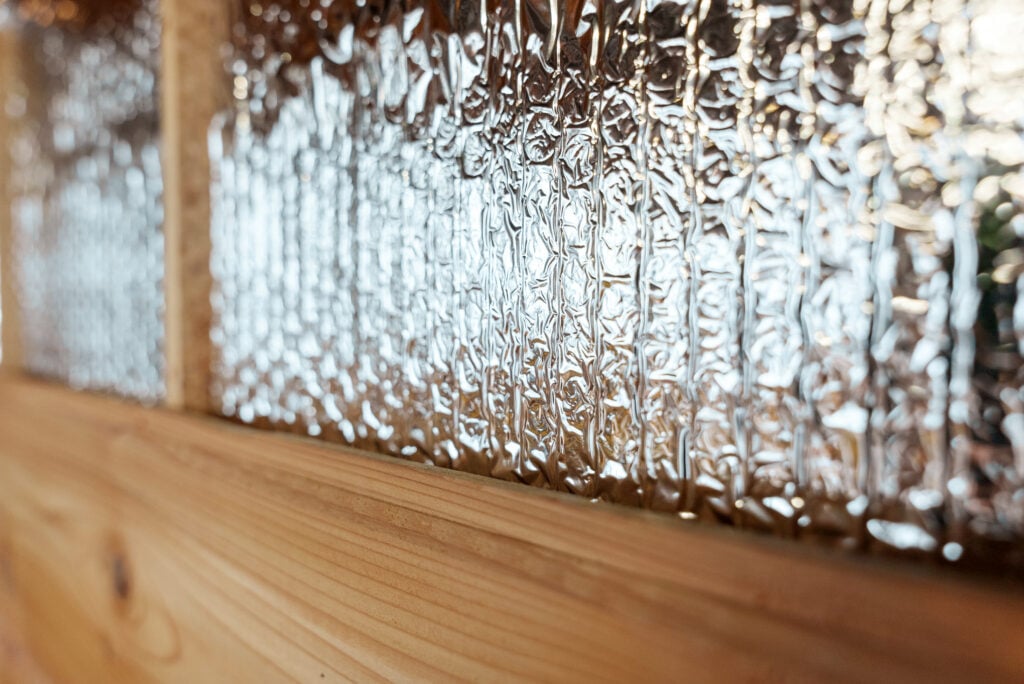
A sauna wall is a stack, not a layer. Framing, insulation, then a foil vapor barrier on the warm side, then a small air gap, then the cedar you actually see. The foil does two jobs. It pushes radiant heat back into the room so the heater isn’t fighting the walls, and it stops steam from migrating into the wall cavity where it has nowhere to go.
Leave the barrier out and the sauna still works on day one. It just takes longer to heat, costs more to run every session, and slowly soaks the framing behind the cedar. You find out about that one several years in, and by then it’s a demolition, not a repair.
5. Wood Movement and Gapping
“That’s gonna happen, though. You gotta think, you’re heating it up and steaming and all that. It’s gonna, it’s gonna wanna warp on you. But if you’re not doing the right gapping, it’s gonna be real bad.”
Worth sitting with that for a second, wood in a sauna cycles from room temperature to 180 degrees and back, over and over, with the humidity swinging just as hard. It moves. Every board in there moves.
The goal isn’t to stop that, it’s to leave it somewhere to go. Correct gapping between boards gives the wood room to expand without pushing against its neighbor, which is what causes cupping, buckling, and split ends. Fasteners matter too. We keep metal off the surfaces people touch, because exposed hardware in a sauna gets hot enough to burn skin.

6. Cleanliness, and Why We Oil
“We use oil in our saunas. Most people don’t oil, so, like, you get these sweat stains everywhere. Then you have to reclean them and everything.”
Bare wood in a sauna absorbs sweat. Over a couple of years a bench that never got treated develops dark staining that doesn’t scrub out, and you’re sanding it or replacing it.
A proper sauna oil soaks into the wood and gives sweat something to sit on top of instead of soak into. Wipe down, done. It’s a small step at the end of a build that saves the homeowner a recurring chore for the life of the room.
One thing we want to be clear about: this means natural oils, not a sealer. Polyurethane or varnish inside a sauna will off-gas at temperature and peel.
Thinking About a Sauna?
If you’re weighing whether to build one yourself, the ranking above is a fair checklist. The first four are the ones that cost real money to get wrong, and three of the four are buried behind finished walls by the time you’d notice.
We’d rather you go in knowing that than find out in year three. If you’re in the Portland area and want to talk through what a sauna would take on your property, we’re happy to come out and give you an estimate.